Monday, December 12, 2011

ALMOST DONE!

Sodding is almost done and now you can see what the new bunker on #1 will look like.  No more steep faced, washed out, always a mess bunker!


Bunker on #1 - Progress!

Work continues toward completion of the right front bunker on hole #1. The drain is in, covered by pea gravel, and today we filled the bunker with new sand and began the sodding process.
More sand has been added.   You can also see the layers of sod that are being laid around the edge.


Another view of the bunker, now full of sand, and the sod work that is going on around it.


Because we are using sod that has been harvested from other places on the course, and we are running out of good places to do that, we are only going to sod the inner and outer edges of the turf area for right now.  The area between will be seeded this afternoon and covered with a protective cover like has been used on the practice green. 

Friday, December 2, 2011

Bunker work continues

Work continues on the right front bunker on hole #1.  The major shaping is completed and in the first three pictures below the white outer line indicates the approximate shape that will eventually be the sand portion of the bunker.  Everything outside that line will be sodded with grass.  The white line you see through the center of the oval is where the drain will be installed.

Looking over the bunker to the green, everything inside the white line will be sand.  Outside the white line will be grass.  The white line through the center indicates the drain location.

Another view of the reshaped bunker.  Notice that we've also added a small berm to the upper side of the shape to aid in diverting water away from the bunker.
And another view, looking back toward the fairway.  The berm is also evident in this photo.


The excavator is used to dig out a pocket for the area that will be the sand portion of the bunker.


Another view of the excavated area with the drain ready to install

Tuesday, November 29, 2011

Bunker on #1

Today Alex and his crew began the reconstruction of the right front bunker on hole #1.  Who among you hasn't wanted to do this at some time?


The design of this bunker with the steeply flashed faces caused on-going maintenance issues for us.  Every time we had a hard rain water would run off the green and down the face of the bunker, washing the sound out and exposing the soil below it.  In time the soil mixed with the sand, contaminating it so that it would not drain and become more "dirt" than "sand".   Our modification is going to involve sloping the bunker sides more, and covering them with sod (grass) rather than attempting to keep sand flashed up on them.  The result will be a bunker that isn't subject to the wash-out problems that it has been up to this point.

Visit YouTube http://www.youtube.com/watch?v=ifXv6SpCL1I&feature=youtube_gdata for a short video of the excavation.


In the picture above you can see that the drain is nearly three feet below the surface.  It should be only a few inches under the sand.  Repeated wash outs actually resulted in restructuring of the bunker.


In the above photo you can see the new shape is beginning to take form.  The load of dirt you see being dumped, along with several more loads, will be used to create a slight berm around the upper lip of the bunker.  This will also help divert water from running into the bunker.
The red outline drawn on the picture is the approximate size and location of the sand portion of the bunker.  The areas outside the red line will be sodded with zoysia.


A slightly different view of the mostly finished bunker.  The black pipe you see is the drain tile.  Once final shaping is completed new drains will be excavated in the bottom of the bunker and attached to this drain pipe.


Friday, September 9, 2011

green repairs

Everyone knows that the extended heat this summer was hard on golf greens throughout the midwest.  Despite our best efforts, Lake Valley did not escape untouched either.  Today, Alex and his crew were busy stealing sod from the lower level of the practice green to replace the worst spots on about three of our greens.  They started today by patching in sod into the worst spots on #14 green, and will continue the process next week on greens #9 and #15.

Why don't they seed it, you ask?  Actually, we did.  Twice.  Unfortunately, each time the seed germinated and just began to grow we were hit with another series of 100-degree weather and the new plants simply weren't strong enough to survive.  To counter that, Alex decided to go with "instant gratification" by laying in sod on the worst spots.  Another problem with growing from seed is that you almost need to close the green to allow the new grass to properly mature, an option that really isn't available to us.

I'm posting a few pictures from Friday afternoon to give you an idea of what is happening:

click picture for larger image
In the above picture you can see some of the sod that has been stripped in, as well as some plugs that were taken from the outer perimeter of the green.


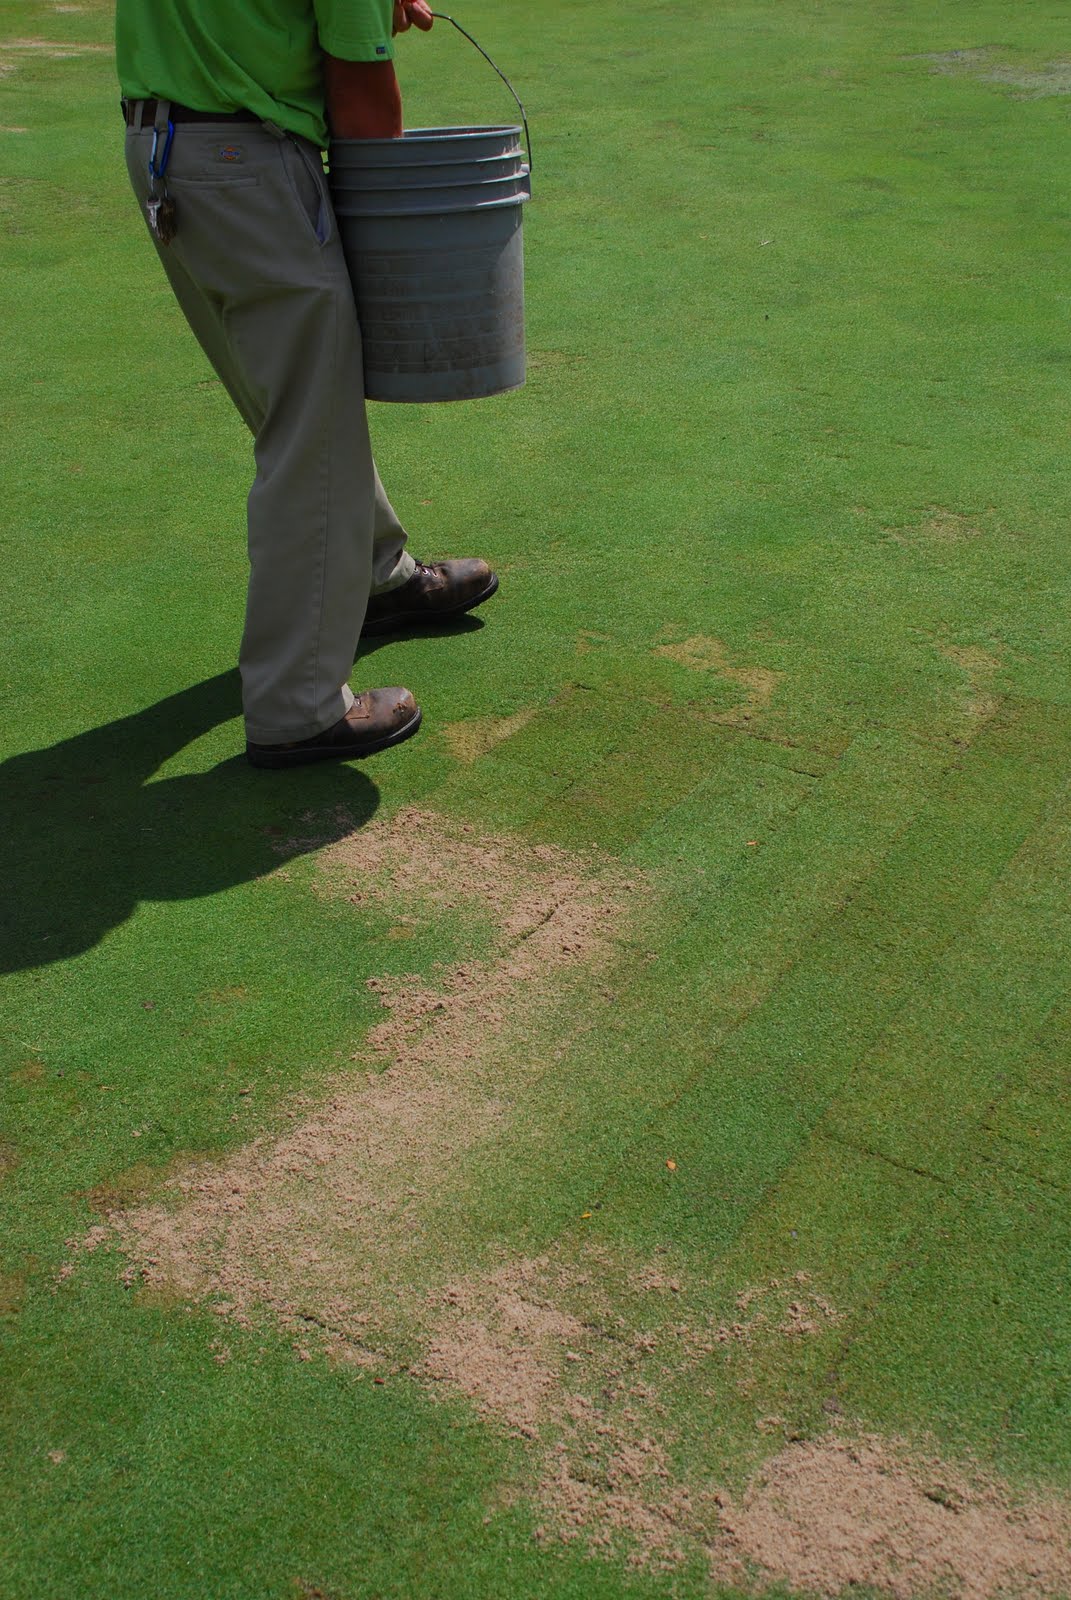
(Above) Alex is spreading a light coat of sand on the seams and lower areas of the patched green.  These will be broomed in similar to a very light top dressing.


Above you see Kevin and Kelly taking plugs from the back outer edge of the green and replacing small areas, while Alex is spreading a light sand dressing and Jay uses a soft bristle broom to sweep the sand in.  After his process was finished they ran the vibratory rollers over the green to smooth everything as much as possible.  On Monday the entire green will receive a full top dressing.

.

Wednesday, August 31, 2011

And then it was gone......

Wednesday afternoon, August 31, 2011.  The bunker behind #10 green is no more.  Final grading and cleanup was done this morning, followed by the laying of sod. 

Here Lashley, Jay, and Alex work on the final clean up and preparations prior to laying the new sod.  You can also see the pattern that has been mown into the surrounding area.


From the side you can see the newly sodded area as well are the surrounding area which will all be mown at the same height as the collars.


Looking from the front of the green you can again see the newly sodded area and the outline of the area which will all be mown at collar height.

Monday, August 29, 2011

Rear Bunker on #10

From behind #10 gren you can see the fill material beginning to replace the bunker.   (Click images for larger version)
You've heard us promise..... today, we started filling in the bunker behind #10 green.  It is currently being filled with the material that was stockpiled when Jay built the new beds by #12 tee.  This material is good for fill, but not satisfactory for surface.  To that end Alex has another stockpile of sandy/loamy material that will be used for the top ~4".  We will then stod the surface and once it is established we will begin the process of training the grass to be mown at the same height as the green collar.

In the above image the red line defines approximately the area that will be mown at the same height as the green collar.  This will give a ball that is over the green a chance to be putted or chipped with a reasonable chance of keeping it on the green.  I'll also point out that the bunker will be completely filled in - it will NOT be a grass bunker, but instead will be just a smooth area on the mounds.

It will take some time for the sod to establish and for the mowing to "train" the grass to be cut so tightly, but by next season we should have a very nice area behind 10 green.